
At the start of this year, I got it into my head to build a small self-hosted lab with a few services for my personal use. The idea was to be able to create VMs on the fly, but above all to securely expose web services on the internet 🪄
The challenges of online exposure #
The main difficulty we face when we want to self-host is the exposure of our services on the Internet. We have to deal with a number of network and security issues to protect ourselves in the Internet jungle.
It’s no secret that there’s a shortage of IPv4 in Europe. That’s why many telecoms operators no longer allocate one IP address per box, but prefer to use NAT instead. This IP is often dynamic and can change when your home router is rebooted. Not very practical for pointing a domain to your network. It also exposes you to the risk of DDoS attacks that will quickly saturate your bandwidth.
The second difficulty is setting up port forwarding. You need to create network rules by opening ports to the internet on your home router, and redirect incoming traffic to our server. This isn’t a complex operation, but it needs to be reiterated if you equipement or operator.
And finally, we’ll need TLS certificates signed by a certificate authority to provide HTTPS support. Without it, devices connecting to our services will display warning messages. Not very attractive, the big red warning when we visit your blog 🥲
And that’s why I use Cloudflare Tunnels⚡
The tunnel solution allows you to create secure tunnels between your server and Cloudflare’s infrastructure, dealing with all the issues mentioned above. There is no need to open ports, the tunnel passes through your home router and exposes only the traffic you authorize it to route.
Setting up #
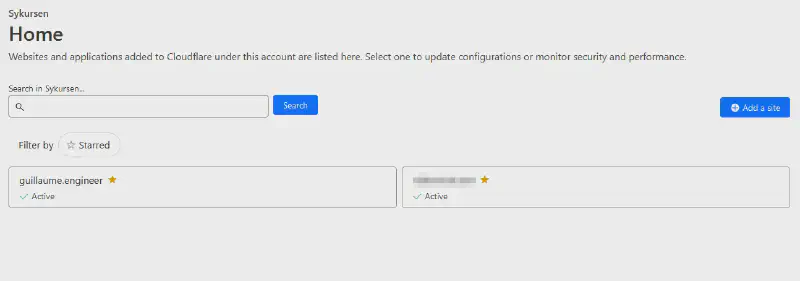
I’m going to assume that you already have a domain name configured to use Cloudflare NS, a Zero Trust project in your Cloudflare account and a machine running Linux. In my case, I’ll be using my debian 11 server.
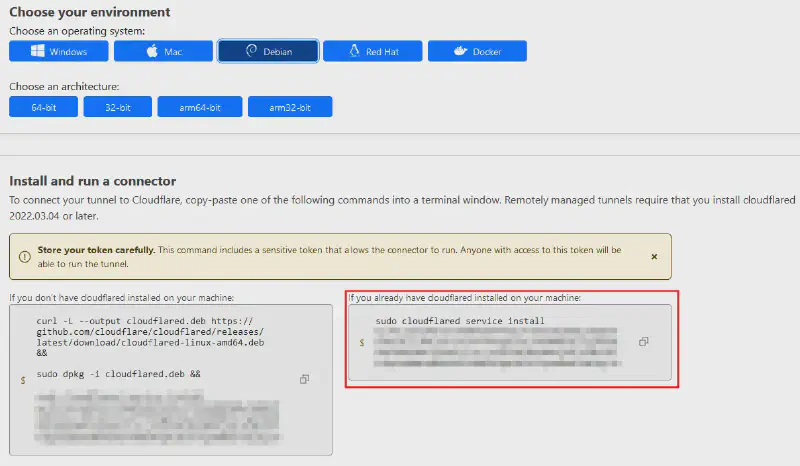
The first step is to install the Cloudflare client to set up the tunnel. We add the GPG key and then the Debian repository. Finally, we install the package with apt.
sudo mkdir -p --mode=0755 /usr/share/keyrings
curl -fsSL https://pkg.cloudflare.com/cloudflare-main.gpg | sudo tee /usr/share/keyrings/cloudflare-main.gpg >/dev/null

echo 'deb [signed-by=/usr/share/keyrings/cloudflare-main.gpg] https://pkg.cloudflare.com/cloudflared bookworm main' | sudo tee /etc/apt/sources.list.d/cloudflared.list

sudo apt update && sudo apt install -y cloudflared
Once the utility has been installed, we activate the systemd service and start it.
sudo systemctl enable --now cloudflared
The next step takes place on the Cloudflare console. We select the domain we want to use.

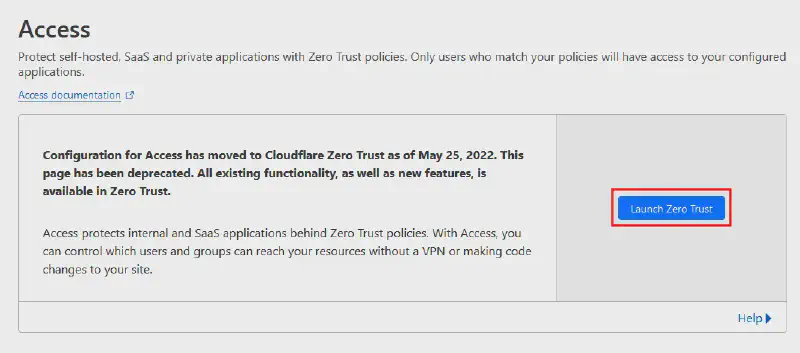
Then we go to the Access page, then to the Zero Trust console.
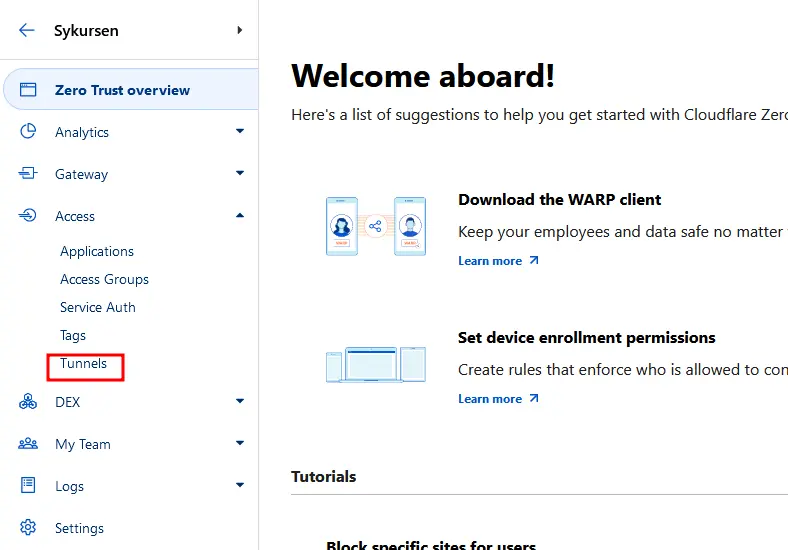
In the Zero Trust console, we go to the Tunnels section.
And we create a tunnel. At the end of the operation, we get a command to be used on our server to activate it.
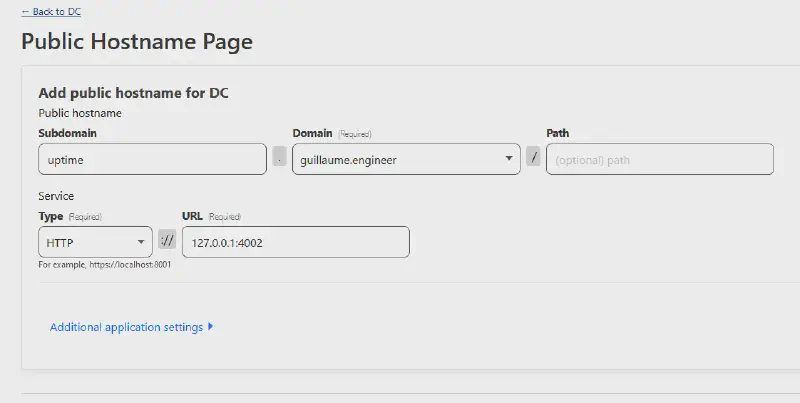
The tunnel is now active. Now all we need to do is choose the stream we want to redirect to the tunnel. We can set up several redirections in a single tunnel 🔥. In my case, I want to expose an instance of uptime kuma exposed locally on port 4002.
And voila, it’s up and running ! 🙌
Some drawbacks #
Despite the magical aspect of the tunnels offered by Cloudflare, there are some important points to consider that may make you hesitate to use them.
The first point is the requirement to configure your domain to use Cloudflare as the DNS provider. As a result, Cloudflare becomes an important component of your infrastructure that you cannot escape. It is not possible to only give control of a subdomain, but requires complete delegation of the domain.
The second point is the aspect of traffic decryption. Cloudflare tunnels act as reverse proxies and manage the traffic. Additionally, as the company is based in the United States, it is subject to extraterritorial laws. This allows the US government to request access to the data passing through their servers. Not very reassuring 😬
One last point that is a bit inconvenient for my use cases is the lack of support for the UDP protocol. For now, it’s not a problem, but it can be a blocking point for hosting non-web services such as UDP-based video game servers. We can also anticipate the arrival of HTTP/3 and the QUIC protocol, which will make UDP necessary.
The Future #
For now, I am quite satisfied with this setup and I really like Cloudflare’s services. Their tech blog is also very cool to follow, with a good dose of engineering and open source.
In the long run, I want to move away from their services and use a VPS that I will manage myself. There are plenty of tools to create tunnels between servers. The idea would be to use Caddy as the TLS termination point. Then, send the traffic over the internet using an encrypted tunnel with NAT Traversal to connect the hosted server to my home.
Right now, I’m starting to look into which simple tool would be optimal for my use case. I also use Tailscale to have SSH access from anywhere, but within a private overlay network. I have received several recommendations to try out Zrok, but that’s for a future episode 😄
Thanks to Quentin, Sébastien, and Nicolas for their careful review 📝